
6.用例定制化执行及 Allure 报告

6.用例定制化执行及 Allure 报告
Pupper一、 用例定制化执行
1. mark 标签的使用
在测试类、测试方法前使用 :@pytest.mark.标签名
标签名 尽量使用 类的名称 或 测试方法的名称,以便后续调用
2. 运行 mark 标签
1.运行一个 标签(’-m’, ‘标签名 ‘)
1 | pytest.main(['测试文件.py', '-s', '-m', '标签名', '--alluredir', '../report/tmp']) |
2. 运行多个 标签(’-m’, ‘标签名 or 标签名’)
1 | pytest.main(['测试文件.py', '-s', '-m', '标签名 or 标签名', '--alluredir', '../report/tmp']) |
3. 排除一个标签(’-m’, ‘ not 标签名 ‘)
1 | pytest.main(['测试文件.py', '-s', '-m', 'not 标签名', '--alluredir', '../report/tmp']) |
4. 排除多个标签(’-m’, ‘not (标签名 or 标签名)’)
1 | pytest.main(['测试文件.py', '-s', '-m', 'not (标签名 or 标签名)', '--alluredir', '../report/tmp']) |
3. 解决 标签未注册问题
安装 ini 插件

在项目根目录 创建 pytest.ini 文件
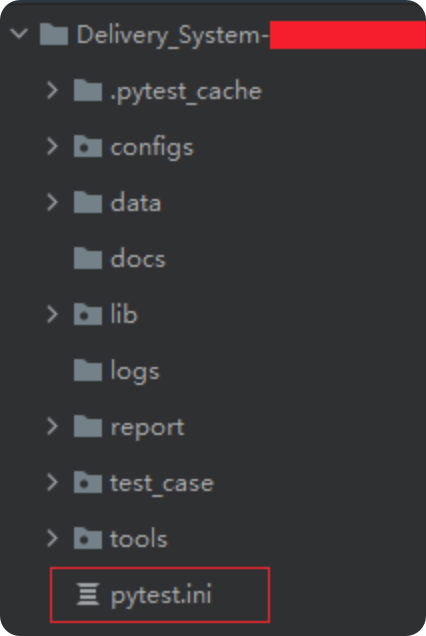
在 pytest.ini 中 注册 标签
1 | # pytest.ini |
4. pytest 执行参数
-k:匹配用例名称- 匹配: 可以全名,也可以模糊
- lesson_1.py lesson_2.py —- 需要指定运行 2 个
pytest -k lesson
- 匹配: 可以全名,也可以模糊
-v: 节点 —- 多层化- test_lesson.py::TesLesson::test_lesson_add # 测试文件::测试类::测试方法
pytest -v test_lesson.py::TesLesson::test_lesson_add
-sq: 简化打印信息- -s : 输出打印
- -q : 简化打印信息
5. 跳过 、条件跳过
pytest.main(['-rs','test01.py']) 用-rs执行,跳过原因才会显示
跳过 — skip
- 使用 跳过 装饰器 标记,可以传递一个可选的原因
1
2
3
4
5
6
7
8
9
#一定不执行下面的接口
def test_shop_update(self, inData, respData, update_shop_init): # 列出商铺
res = MyShop(self.token).shop_update(inData, update_shop_init[0], update_shop_init[1]) # 商铺列出方法
# shopId,imageInfo---对应的---update_shop_init[0],update_shop_init[1]
print('update_shop_init:--->', update_shop_init[0], update_shop_init[1])
assert res['code'] == respData['code']有条件跳过 — skipif
- 在执行过程中会对项目的一些前置条件进行判断
1
2
3
4
5
6
7
8
9
# 条件为真,就跳过
def test_shop_update(self, inData, respData, update_shop_init): # 列出商铺
res = MyShop(self.token).shop_update(inData, update_shop_init[0], update_shop_init[1]) # 商铺列出方法
# shopId,imageInfo---对应的---update_shop_init[0],update_shop_init[1]
print('update_shop_init:--->', update_shop_init[0], update_shop_init[1])
assert res['code'] == respData['code']
二、 Allure 报告优化
1. Allure 标签层级
| 使用方法 | 层级 | 参数说明 |
|---|---|---|
| @allure.epic() | 项目级 | 敏捷里面的概念, 定义史诗,往下是 feature |
| @allure.feature() | 模块级(类) | 功能点的描述,往 下是 story |
| @allure.story() | 用户故事(方法) | 用户故事,往下是 title |
| @allure.title(用例的 标题) | 用例的 标题 | 重命名 html 报告名 称 |
| @allure.testcase() | 测试用 例的链 接地址 | 对应功能测试用例 系统里面的 case |
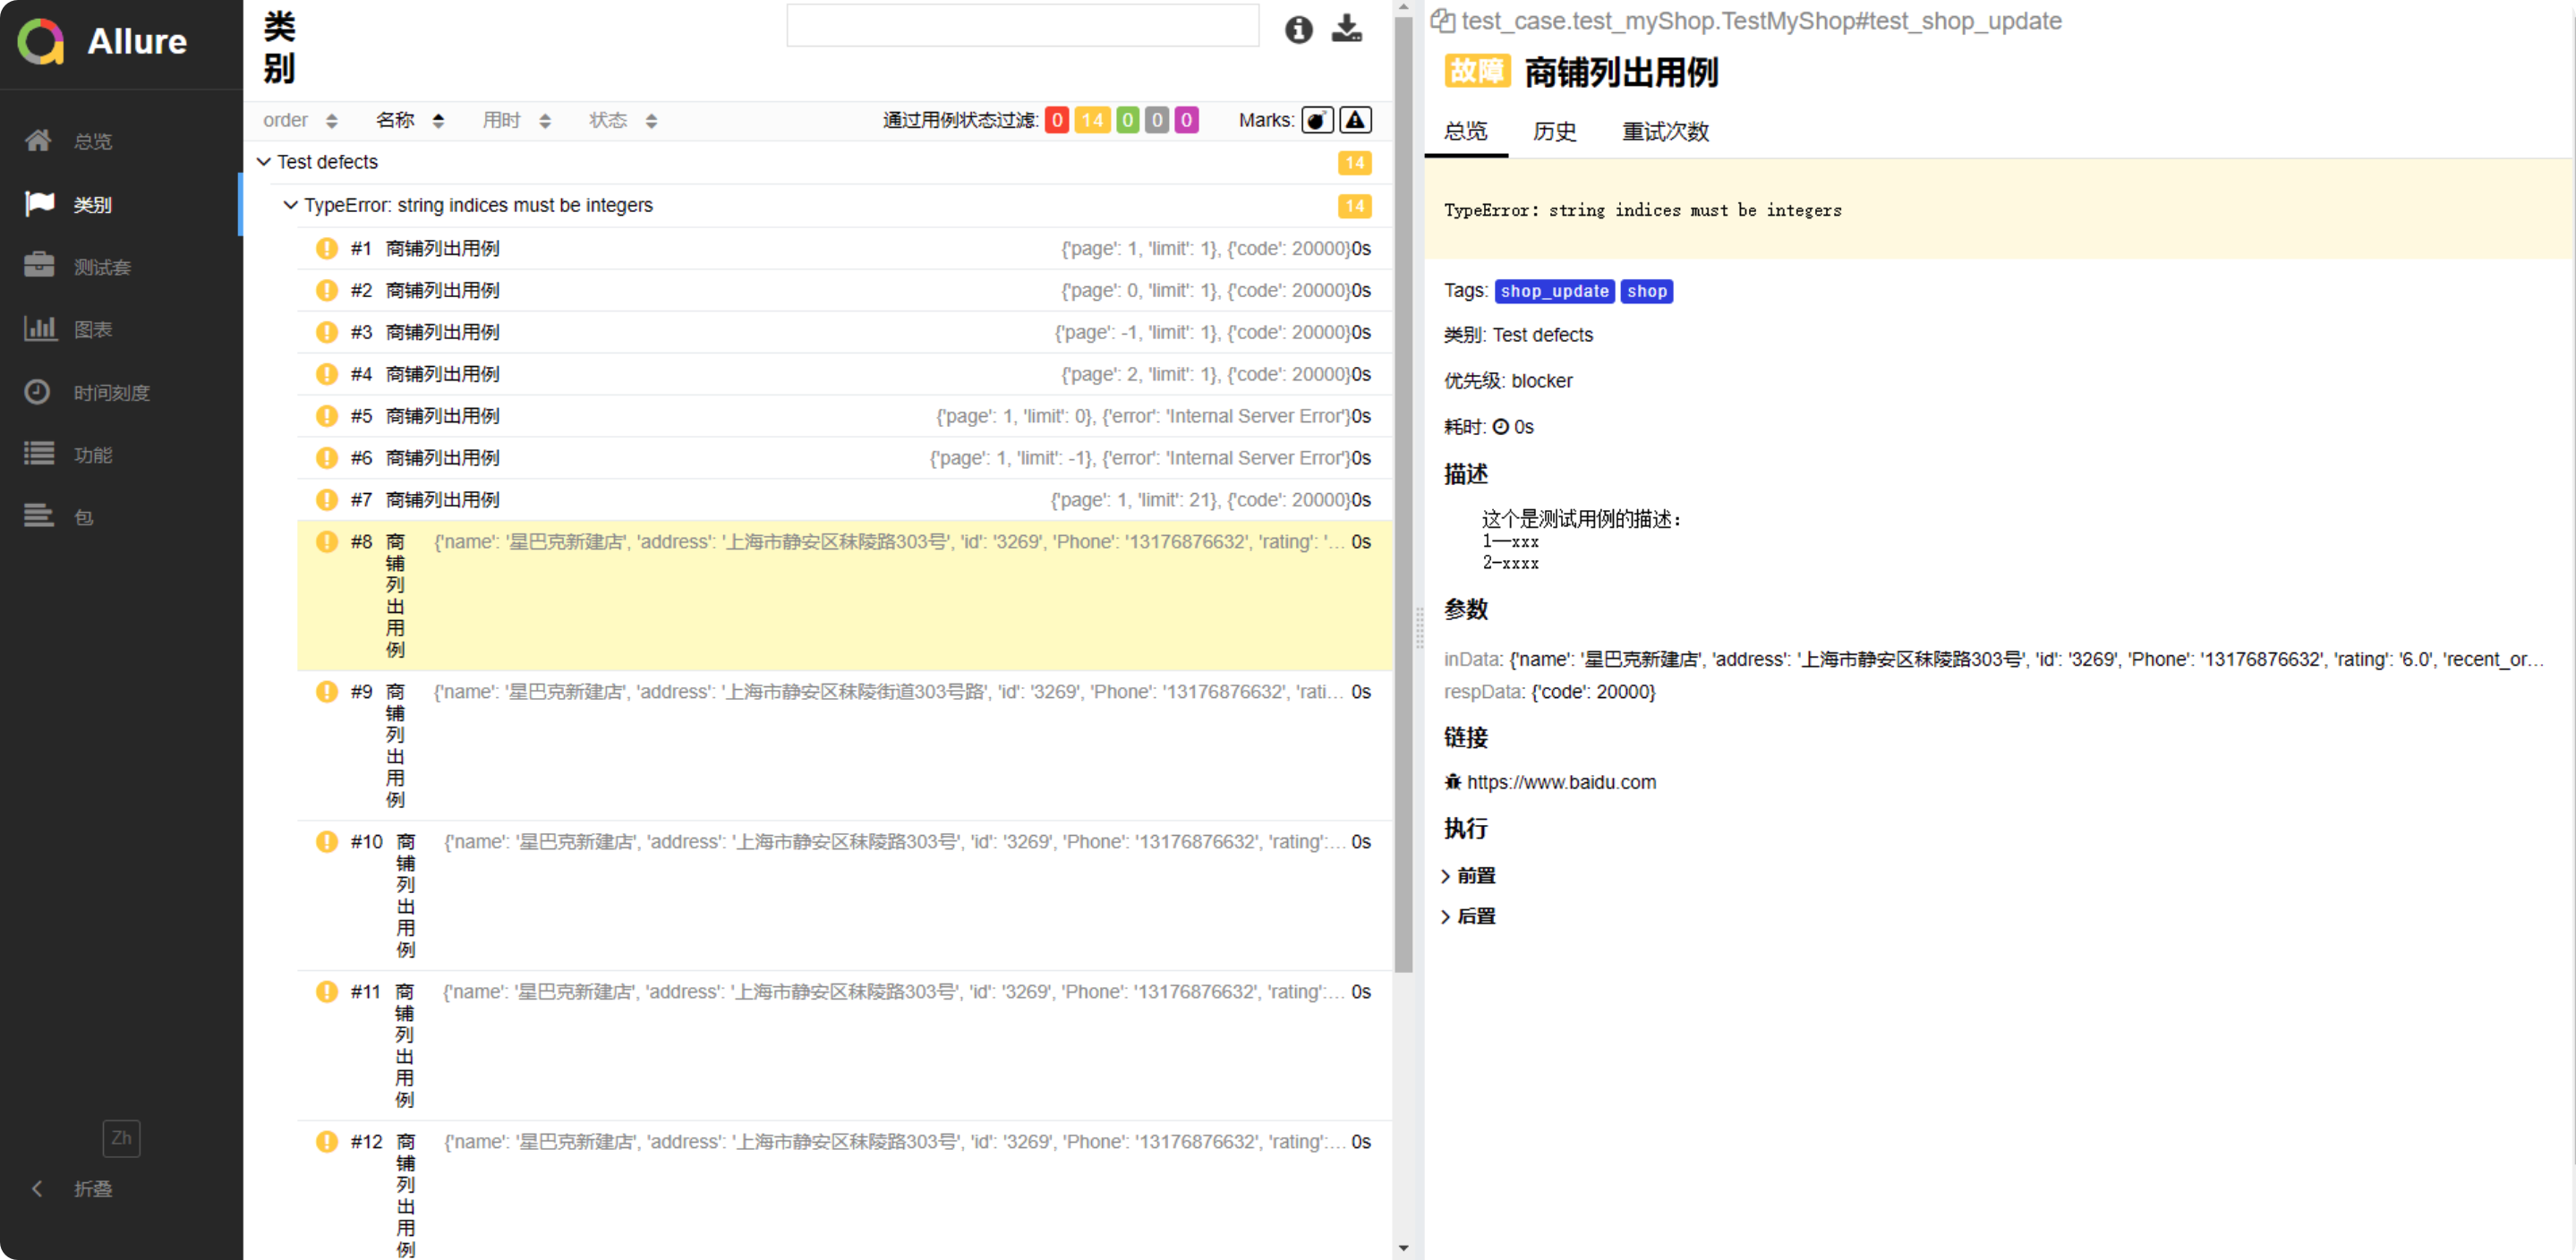
| @allure.issue() | 缺陷 | 对应缺陷管理系统 里面的链接 |
| @allure.description() | 用例描 述 | 测试用例的描述 |
| @allure.step() | 操作步 骤 | 测试用例的步骤 |
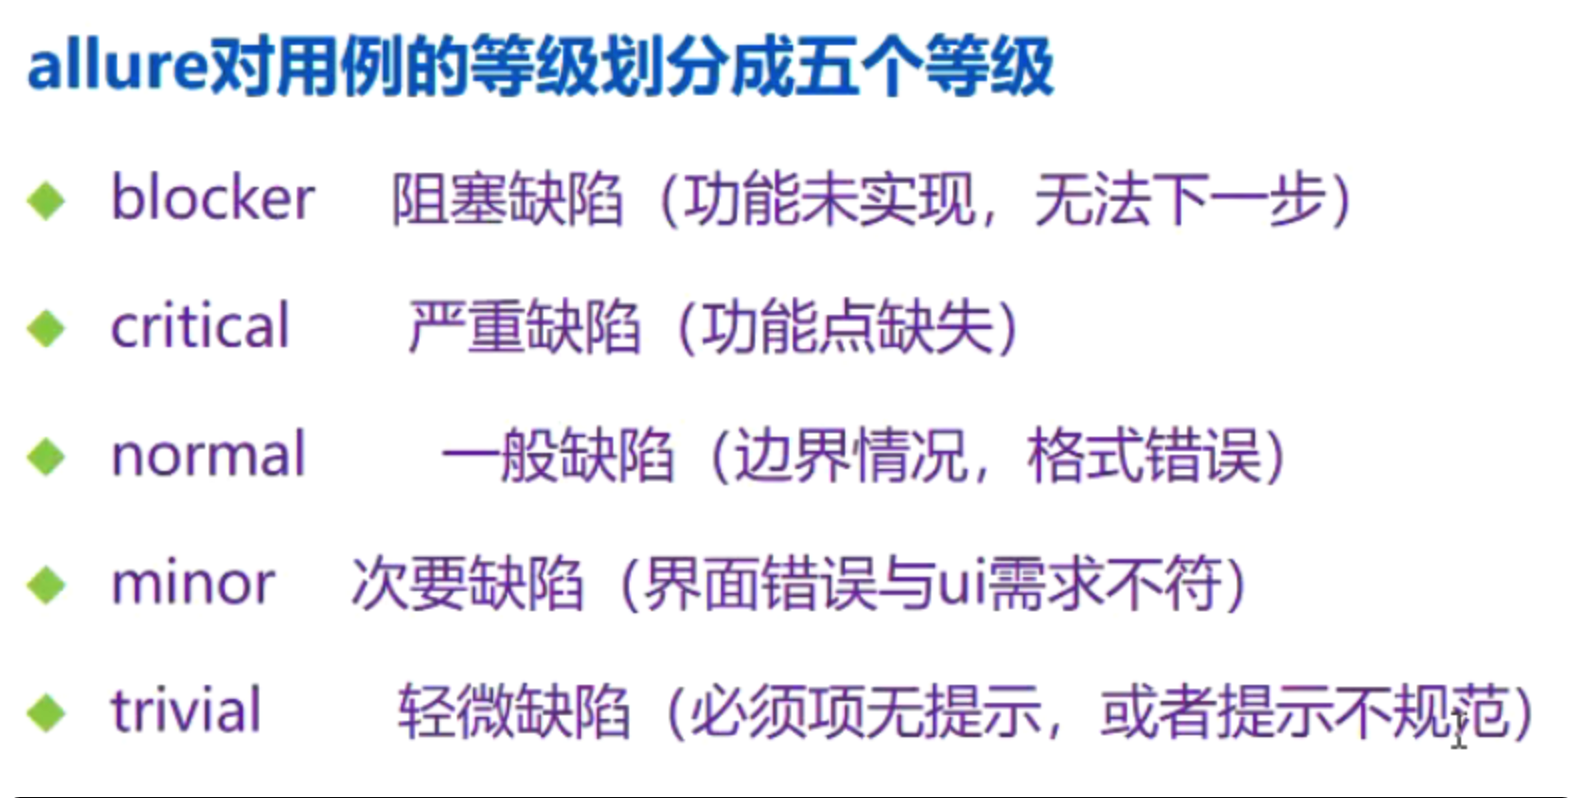
| @allure.severity() | 用例等 级 | blocker,critical, normal,minor, trivial |
| @allure.link() | 链接 | 定义一个链接,在 测试报告展现 |
| @allure.attachment() | 附件 | 报告添加附件 |
1 | import pytest |
1 | # 测试类--标签mark |
2. 用例级别
1 | import pytest |
1 | pytest -sq --alluredir=../report/tmp --allure-severities=normal,critical |
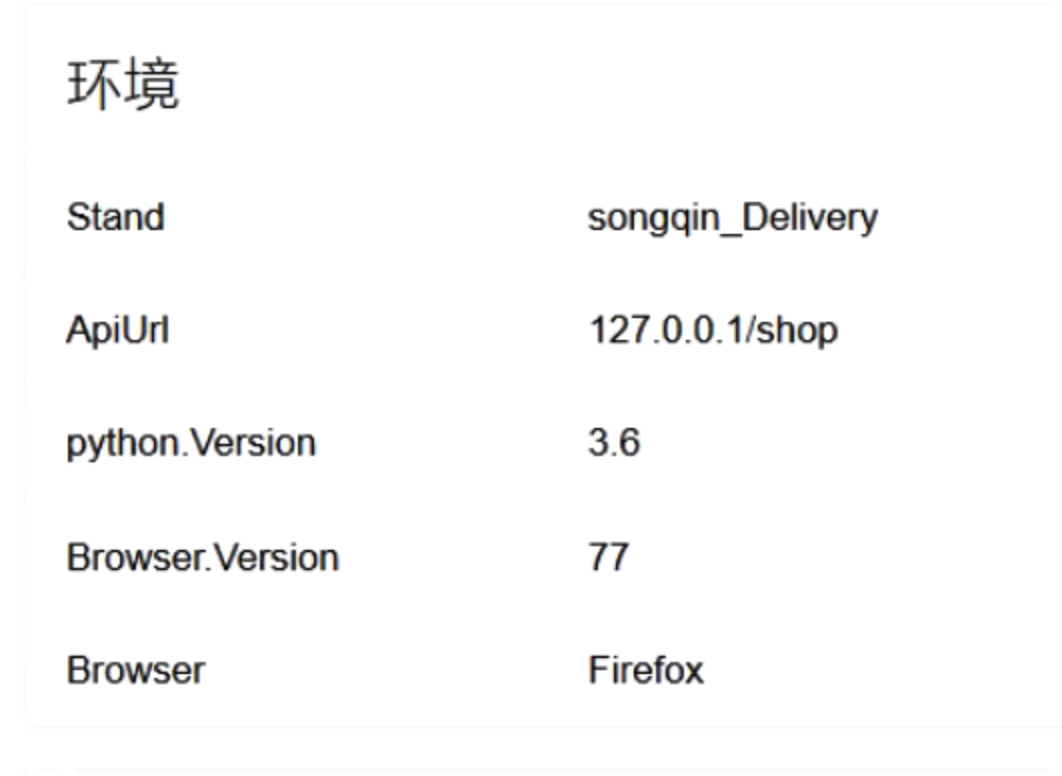
3. 显示 allure 环境
在 allure-results 报告之前,创建 environment.properties或者environment.xml文件
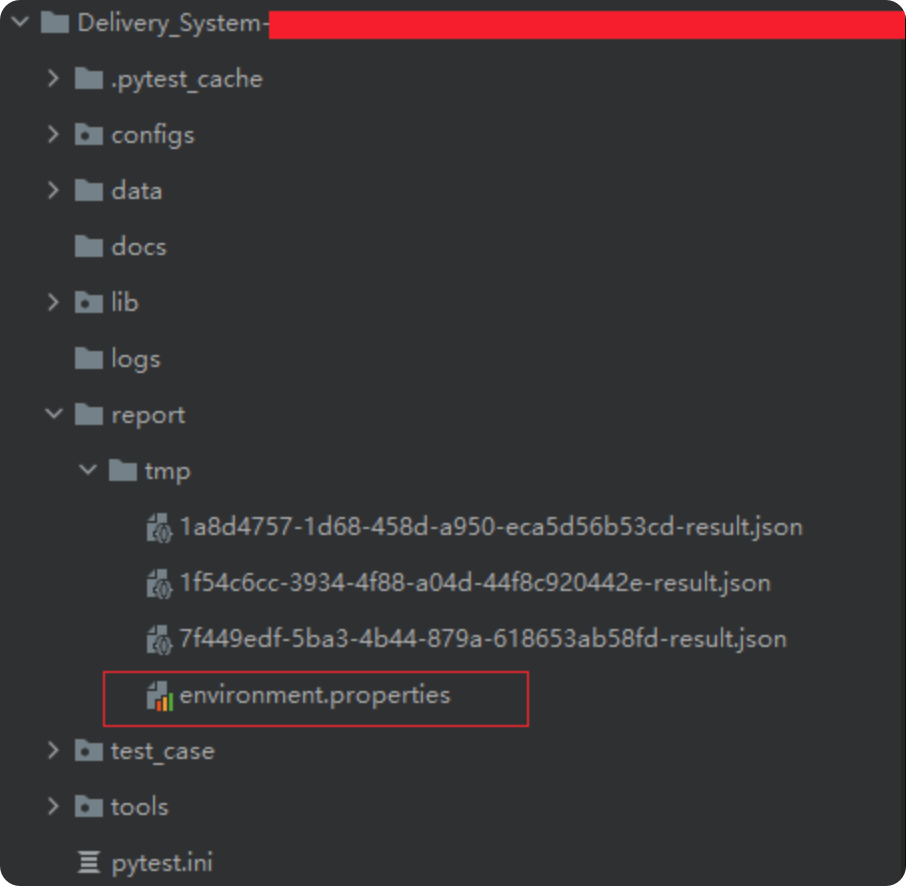
1 | # report/tmp/environment.properies |


喜欢这篇文章的人也看了


评论
匿名评论隐私政策
✅ 你无需删除空行,直接评论以获取最佳展示效果